Calligraphy for Beginners: The Complete Guide to Starting Today
You don’t need expensive pens, perfect handwriting, or years of practice to start Calligraphy for Beginners. You need one pen, one sheet of paper, and about fifteen minutes. This guide shows you exactly how to begin, what actually matters in your first week, and how to avoid the mistakes that make most beginners quit before they see real progress.
This Calligraphy for Beginners guide was tested against the standard practice routines taught by working calligraphers and refined against real beginner sticking points, not just theory. Every stroke, tool recommendation, and timeline below reflects what actually gets a first-time calligrapher writing clean letters, not just what sounds correct on paper.
What Is Calligraphy?
Calligraphy is the art of forming letters using controlled, deliberate strokes rather than continuous handwriting motion. Each letter is built from a small set of basic strokes, and the contrast between thick and thin lines comes from varying pressure or using a specialized tool, not from natural pen movement.
This is the single biggest thing beginners misunderstand. Handwriting is what flows from your hand automatically. Calligraphy is closer to drawing: you’re building letters piece by piece, stroke by stroke.
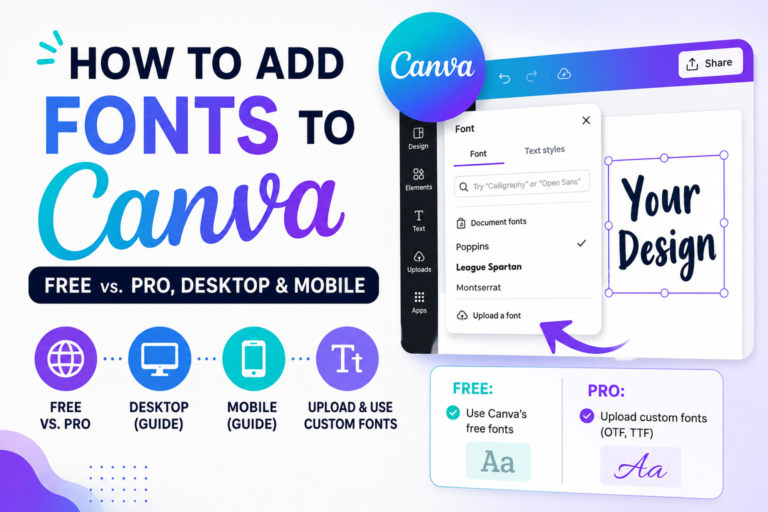
Want to use your own calligraphy fonts? See our guide on how to add fonts to Canva.
Calligraphy vs. Handwriting vs. Hand Lettering
People use these three terms interchangeably, but they describe different skills.
| Term | What it is | Speed | Tools |
| Handwriting | Your natural, learned writing style | Fast, continuous | Any pen |
| Calligraphy | Letters built from controlled strokes with thick/thin contrast | Slow, deliberate | Brush pen, dip pen, or pointed pen |
| Hand lettering | Letters drawn, then outlined and filled in afterward | Slowest | Any pen or pencil |
Your handwriting quality has no bearing on whether you can learn calligraphy. Calligraphy for Beginners focuses on replacing your handwriting habits with a new set of controlled movements, so someone with messy handwriting and someone with neat handwriting start from the same place.
What You Actually Need to Start
You have three options depending on your budget. Skip straight to the tier that fits you.
| Budget | What you get | Best for |
| $0 (household items) | Regular pen or pencil, any paper | Testing if you enjoy calligraphy before spending anything |
| $10 to $25 | One brush pen (Tombow Fudenosuke or similar), a pad of marker paper | Most beginners; the standard starting setup |
| $40 to $80 | Oblique pen holder, pointed pen nibs, bottled ink, guideline paper | Beginners set on traditional pointed-pen or Copperplate calligraphy from day one |
If you’re not sure calligraphy is for you yet, start at $0. You can do everything covered in the next section with a pencil and a piece of printer paper.
Start With Faux Calligraphy (Not a Brush Pen)
Most guides tell you to buy a brush pen first. Skip that step. Start with faux calligraphy instead, using any pen or pencil you already own.
Faux calligraphy works like this: you write a word normally, then go back and thicken specific strokes by hand. This teaches you exactly which strokes need to be thick before you add the challenge of controlling a new tool.
How to do faux calligraphy in four steps:
- Write a word in cursive or print, slowly and normally.
- Identify every downstroke, meaning every line your pen drew while moving downward or toward you.
- Draw a second line right next to each downstroke to create width.
- Fill in the gap between the two lines so the downstroke reads as one thick stroke.
That’s it. No special tools, no ink to manage, no nib to prep. Once you can consistently spot your downstrokes and thicken them cleanly, you’re ready to move to a brush pen and everything will click faster.
The Basic Strokes Every Style Is Built From
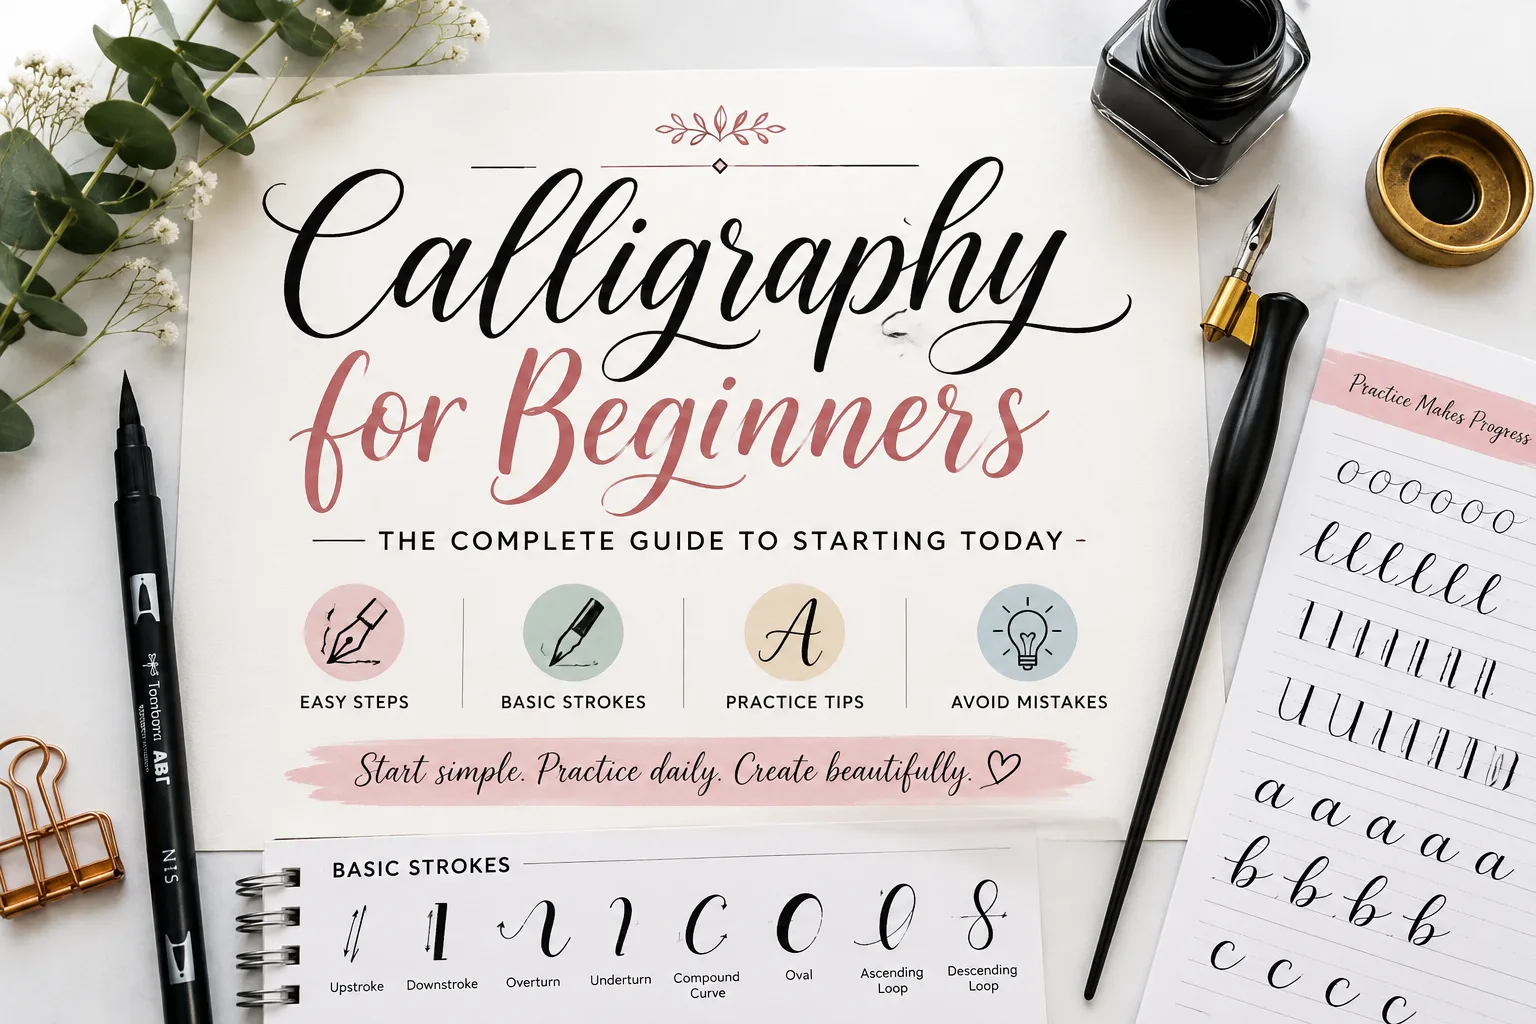
Every calligraphy letterform, in every style, breaks down into a small number of repeating strokes. Learn these before you attempt a single full letter, as they form the foundation of Calligraphy for Beginners.
- Upstroke: a thin line moving upward, away from you
- Downstroke: a thick line moving downward, toward you
- Overturn: a curve that starts thin at the bottom, goes up, then curves back down thick
- Underturn: a curve that starts thick at the top, goes down, then curves back up thin
- Compound curve: an underturn immediately followed by an overturn, forming an S-shape
- Oval: a closed loop, thin on the sides and thick through the middle
- Ascending loop: a loop that rises above the main body of a letter (used in letters like l, h, b)
- Descending loop: a loop that drops below the baseline (used in letters like g, j, y)
The rule that governs all of them: light pressure on upstrokes, heavy pressure on downstrokes. If you only remember one rule from this entire guide, remember that one.
Practice each stroke by filling an entire line with just that shape before moving to the next. Do this for ten to fifteen minutes. Resist the urge to jump to full words on day one. Mastering these basic strokes is one of the most important steps in Calligraphy for Beginners, because letters built on shaky strokes will always look shaky, no matter how much you practice the letters themselves.
Choosing Your First Style
Different calligraphy styles use different tools and have different learning curves. Pick one and stick with it for at least two to three weeks before trying another.
| Style | Tool | Learning curve | Good first style? |
| Faux calligraphy | Any pen or pencil | Easiest | Yes, always start here |
| Modern brush calligraphy | Brush pen | Easy to moderate | Yes, most popular beginner choice |
| Pointed pen (Copperplate) | Dip pen, oblique holder, ink | Moderate to hard | Only if you’re specifically drawn to it |
| Broad edge (blackletter, Italic) | Chisel-tip marker or broad-edge pen | Moderate | Good second style |
Modern brush calligraphy is the most common recommendation for a reason: brush pens are self-contained (no ink bottles or nib prep), forgiving of imperfect pressure control, and produce visible results fast enough to keep you motivated, making them an excellent choice for Calligraphy for Beginners.
Learn best fonts for resume.
Your First Practice Session, Step by Step
Here’s exactly what to do in your first fifteen-minute session.
- Set up on a flat surface with good lighting and your paper positioned comfortably.
- Warm up with five slow ovals, focusing only on smooth pressure transitions, not speed.
- Practice each of the eight basic strokes for one full line.
- Pick three lowercase letters that use different strokes (try a, l, and o) and write each one five times.
- Stop while it still feels good. Fifteen focused minutes daily beats one exhausting two-hour session.
Explore historical calligraphy and illuminated manuscripts at the Metropolitan Museum of Art
Common Beginner Mistakes
- Skipping basic strokes and jumping straight to letters. Every wobbly letter traces back to an unpracticed stroke.
- Gripping the pen too tightly. Tension in your hand transfers directly into shaky lines. Hold the pen the way you’d hold a butterfly.
- Writing at your normal handwriting speed. Calligraphy requires roughly half your normal writing speed, sometimes slower.
- Using the wrong paper. Regular printer paper causes brush pens to fray and bleed. Use smooth marker paper or a dedicated calligraphy pad.
- Switching styles every week. Consistency in one style builds muscle memory. Jumping between styles resets progress each time.
- Comparing your day-one work to someone else’s year-five work. Every calligrapher’s early practice sheets look rough. That’s the process working, not a sign you’re doing it wrong. These are some of the most common mistakes people make when learning Calligraphy for Beginners.
How Long Does It Take to Learn Calligraphy?
Most beginners notice visible improvement in their strokes within two to four weeks of daily practice. When learning Calligraphy for Beginners, comfortable, consistent letterforms typically take two to three months. Full command of a style, including flourishing and personal variation, takes six months to a year or more of regular practice. The timeline depends entirely on consistency, not natural talent.
Frequently Asked Questions
Can I learn calligraphy if my handwriting is bad?
Yes. Calligraphy strokes are unrelated to your handwriting habits. You’re learning a new, controlled motion from scratch, so messy handwriting gives you no disadvantage compared to someone with neat handwriting.
Is calligraphy hard to learn?
Calligraphy for Beginners is easy to start but takes consistent practice to master. The basic strokes take a few sessions to feel comfortable. Full letterforms and flowing words take weeks to months of regular fifteen-minute practice sessions.
What’s the difference between calligraphy and hand lettering?
Calligraphy strokes are written directly, with thick and thin lines created in one motion. Hand lettering is drawn: you sketch the letter outline first, then fill it in afterward. Hand lettering is slower but more forgiving for beginners.
Can I do calligraphy with a regular pen or pencil?
Yes, through faux calligraphy. You write normally, then go back and thicken the downstrokes by hand. This is the recommended starting point before buying any calligraphy-specific tools.
What is the easiest calligraphy style for beginners?
Faux calligraphy is the easiest entry point since it needs no special tools. Among tool-based styles, modern brush calligraphy has the gentlest learning curve because brush pens are more forgiving than dip pens and pointed nibs.
How much does it cost to start calligraphy?
You can start for free using a pencil and faux calligraphy technique. A basic brush pen setup costs $10 to $25. A full pointed-pen setup with a holder, nibs, and ink runs $40 to $80.
Can I learn calligraphy on an iPad?
Yes. Apps like Procreate let you practice calligraphy strokes with an Apple Pencil, using downloadable worksheets as a background layer. Digital practice follows the same stroke and pressure principles as pen and paper.
Want the Look Without the Practice?
Calligraphy takes real time to learn, and that’s part of what makes it rewarding. But if you need calligraphy-style text right now for a project, social media post, or design, you don’t have to wait months. Try the Handwriting Font Generator to instantly get elegant, script-style text you can copy and paste anywhere, no pen or practice required.
Keep Exploring
- Old English Font Generator: the blackletter style referenced above, ready to copy and paste without a broad-edge pen.
- Gothic Font Generator: explore the broader blackletter family this guide’s broad-edge styles are based on.
- Italic Text Generator: a fast way to preview slanted, calligraphy-adjacent lettering before committing to a physical style.

One Comment